Hi my Stampin’ Friends,
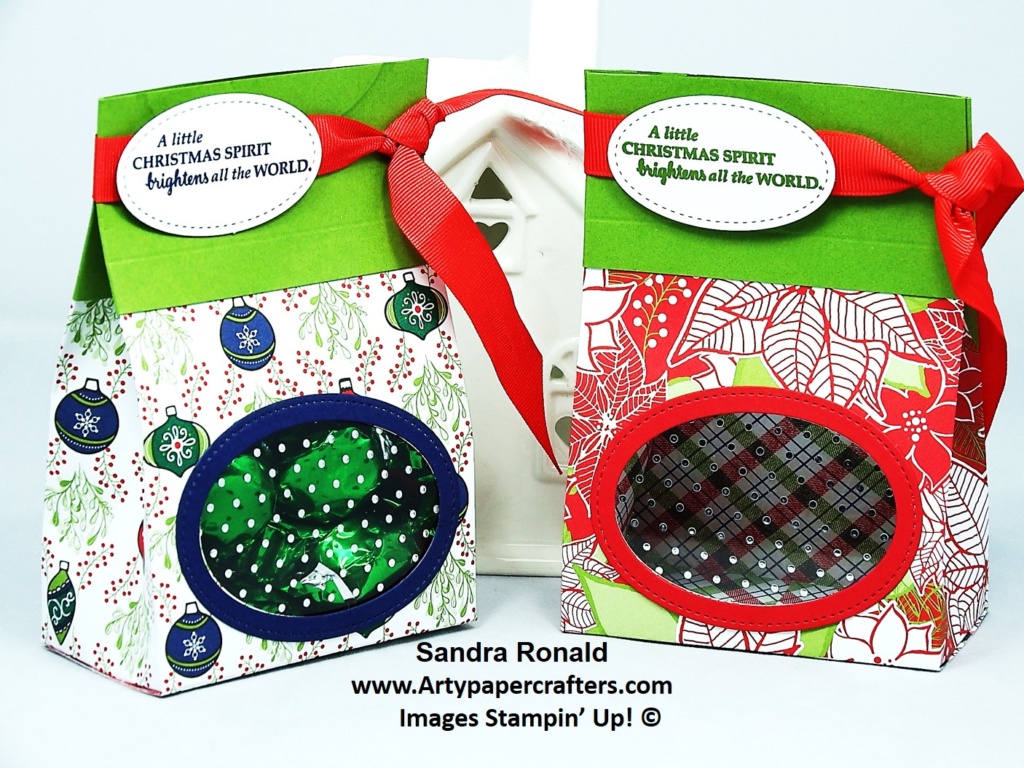
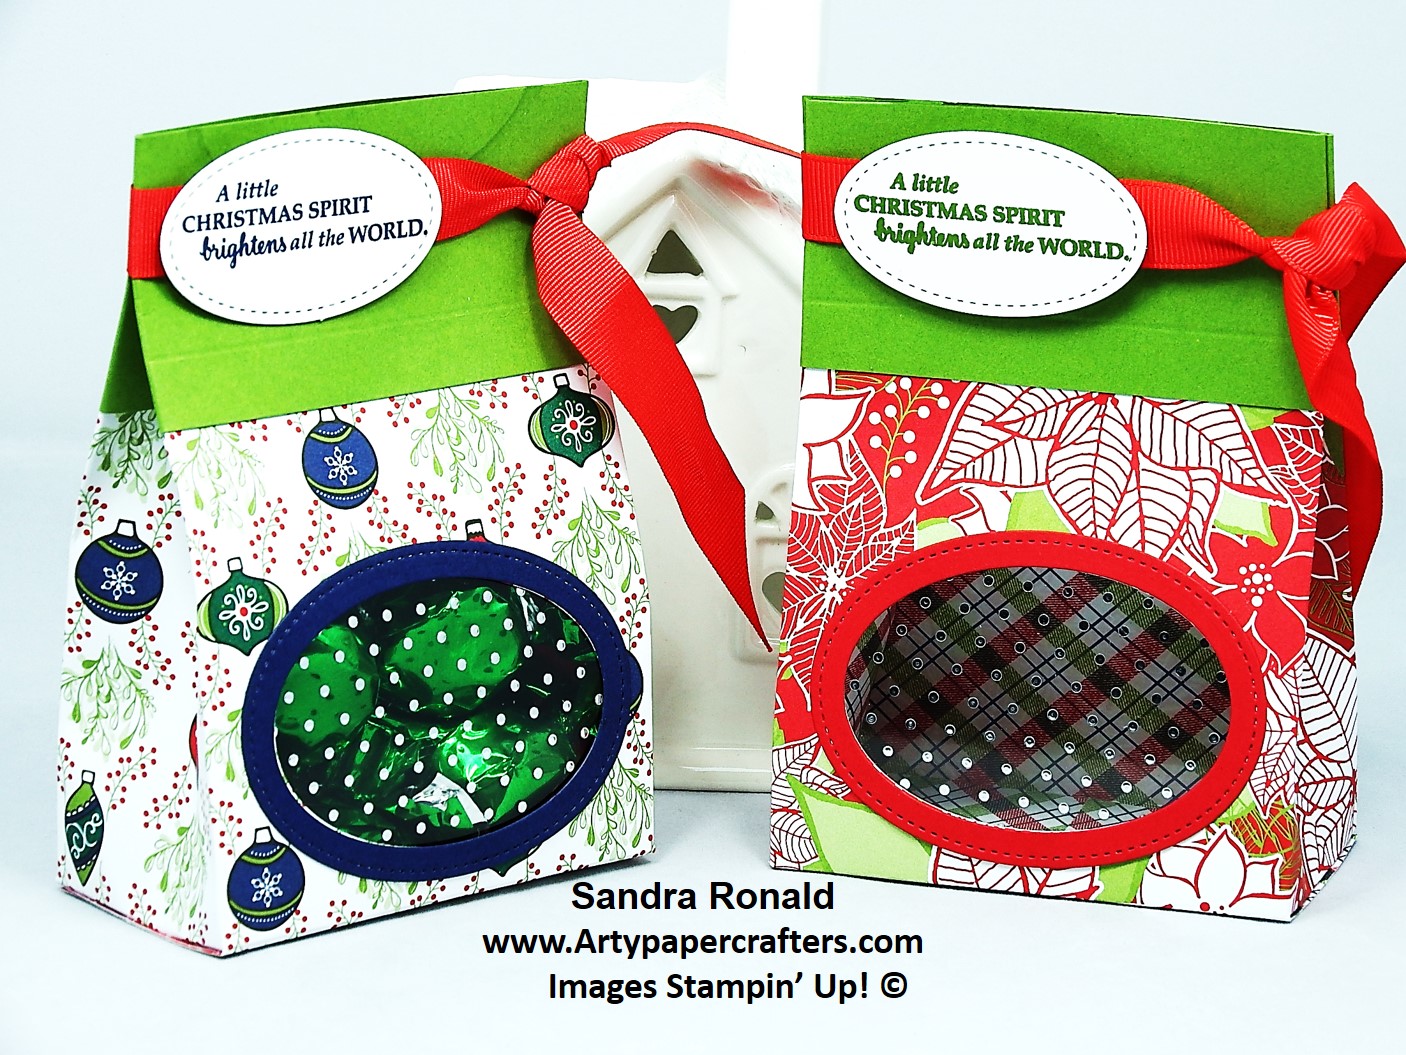
today is the first of my Christmas projects. I am delighted with the way my Gift Bag turned out. You see I wanted my bag to be large enough to hold plenty of treats, but I didn’t want to use a whole sheet of Designer Paper to achieve it, as then I could make 2 gift bags from one sheet of 12 x 12″ DSP. I have used the “Under the Mistletoe Designer Paper” and I must say that this is “blooming wonderful”.
So then I had a “light bulb moment” when I thought it would be a brilliant idea to add some co-ordinating card stock to get extra height.
The finished dimensions of this bag is height 5 1/2″, width 3 3/4″ and depth 2″ (14 x 9.5 x 5 cm). Adding a window to this bag gave it much more “style”. I couldn’t wait to make it.
In my video I show that you add the card stock and glue it down before cutting out the window. However, if you are running your oval die through the Big Shot there is only a 6″ (15.2 cm) width so therefore it is best to score the Designer Paper first, cut out the oval window and then glue the card on top afterwards.
You will then need to score the card stock to match, adding those extra part score lines at the top only afterwards. Don’t worry, this is really easy to make and no where near as complicated as it sounds.
It makes a fabulous gift bag and these favours are going to look so pretty on the Christmas table anywhere, or just make them non-Christmas related for treats at any time. Great for craft fairs too!
I hope you enjoy my video and will come back for the measurements and to purchase some Stampin’ Up! products from my online shop. I would be so grateful for your order.
My hostess code for October is 7WHK2BF6. Add this at the checkout to become part of my VIP Customer Rewards Club. I will be delighted to welcome you.
Happy Crafting WITH LOVE from SANDRA xx
Measurements
Under the Mistletoe Designer Series Paper cut at 12 x 6″ (30 x 15 cm)
Co-ordinating card stock (Old Olive) cut at 12 x 2″ (30 x 5 cm) (then score the DSP first and die cut your oval before gluing down the top piece of cardstock).
Score on the long side at 3 3/4″, 5 3/4″, 9 1/2 and 11 1/2″ (9.5, 14.5, 24 and 29 cm)
Make part score lines down by about 1″ (2.5 cm) from the top only at 4 3/4″ and 10 1/2″ (12 x 26.5 cm)
score on the short side at 2″ (5 cm).
Product List


 Textured Weave Ribbon")


