
I love cooking and always make my own jams using fruit that I have grown in my garden during the summer. Although it is only March I had a glut of fruit in my freezer that I needed to use up before the summer fruits start all over again.
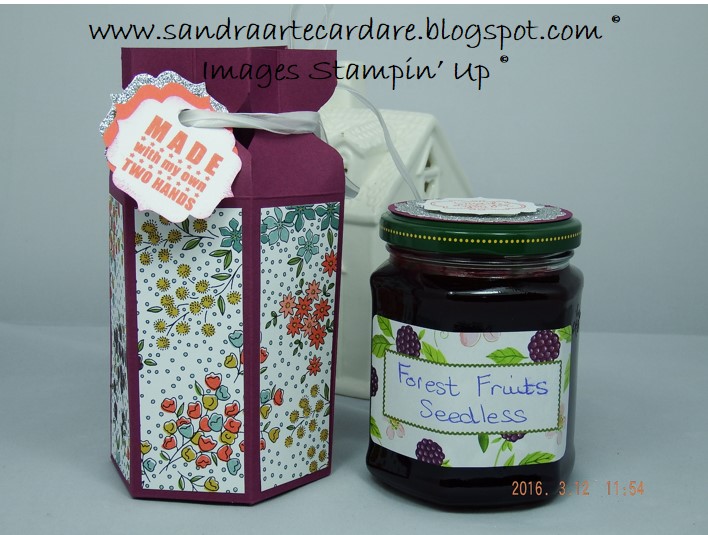
I posted the blog for my Jam Jar Gift Presentation Boxes a couple of day ago and as so many of you asked for the jam recipe I am posting it on my blog today.
Cooking Utensils you will need before you start:
A 3 litre Pyrex (microwaveable) Bowl
Wooden Spoon
Small plate
Weighing Scales
Oven Gloves
Jam Funnel (makes it easy to pot up your jam)
Large Sieve (only necessary if you want to sieve out the pips)
Clean sterilised Jam Jars (any sizes of your choice). These can be sterilised by placing them in a dishwasher programme. Or you can place them in the oven with the lids off at 110 C for 30 – 40 minutes.
Ingredients:
Maximum of 1 Kilogram or 2.2 lbs of Berry Fruits (they can be one type or mixed)
2 tablespoons of cold water (no need to add this if your fruits are from the freezer)
1 Kilogram or 2.2 lbs of JAM Sugar
(It is best to use Jam Sugar as this guarantees a Set, I use Tate and Lyle available in all the leading Supermarkets)
1. Place the Fruits in your 3 litre microwaveable Pyrex bowl and add two tablespoons of cold water and microwave on full power for 5 minutes to soften. If you are using frozen fruits from the freezer you will need to cook them for about 8 – 10 minutes to soften them). Using your oven gloves take the bowl out of the microwave and stir. At this stage you can sieve out the pips if you do not like them in your jam.
2. Add your sugar into the bowl with your fruits and stir very well. Place back in the microwave and microwave again on full power for 12 – 14 minutes. After this time, using your oven gloves, take the jam out of the microwave and test for a set.
3. To test for a set you place a teaspoon of mixture onto a cold plate and push gently with your little finger. Be careful, do not burn yourself. If the jam wrinkles and forms a slight skin your jam is set.
If you do not have a set then put the jam back in the microwave using your oven gloves and microwave for another four minutes.
4. Continue number 3 until you have a set. My jam usually sets after 12 minutes but all microwaves can be different in power. The power of my microwave is 800 so if your microwave is only 650 you may need to cook for a further 6 – 8 minutes.
5. Leave your jam to cool for a while. When it is cool enough place your jam funnel in the top of your jam pot and carefully ladle the jam until you have almost completely filled it.
6. Leave jars to get completely cold and place lids on tightly.
7. Just ENJOY your beautiful HOMEMADE Jam.
Thank you for requesting this recipe and for stopping by my blog today.
Sandra x
Independent Stampin’ Up Demonstrator
Before you go:
Don’t forget that there is still time to JOIN MY TEAM before Sale-A-Bration ends today, the 31st March 2016. Spend £99 and you choose £160 worth of products. Click on my page tab at the top of this blog for more details. I would be absolutely delighted to have you as a member of my Team.
Alternatively, you can still receive FREE Products if you spend a minimum of £45 during Sale-A-Bration. See the details at the top right hand corner of this blog.
Thank you for giving me your time.
Best Wishes
Sandra x